Getting Started
Create an application
This guide will help you create an application with Coherence.
Prerequisites
This guide assumes:
- You have signed up for a Coherence account. If not, follow the guide.
- You have a GitHub account with the required permissions.
Create an app on Coherence
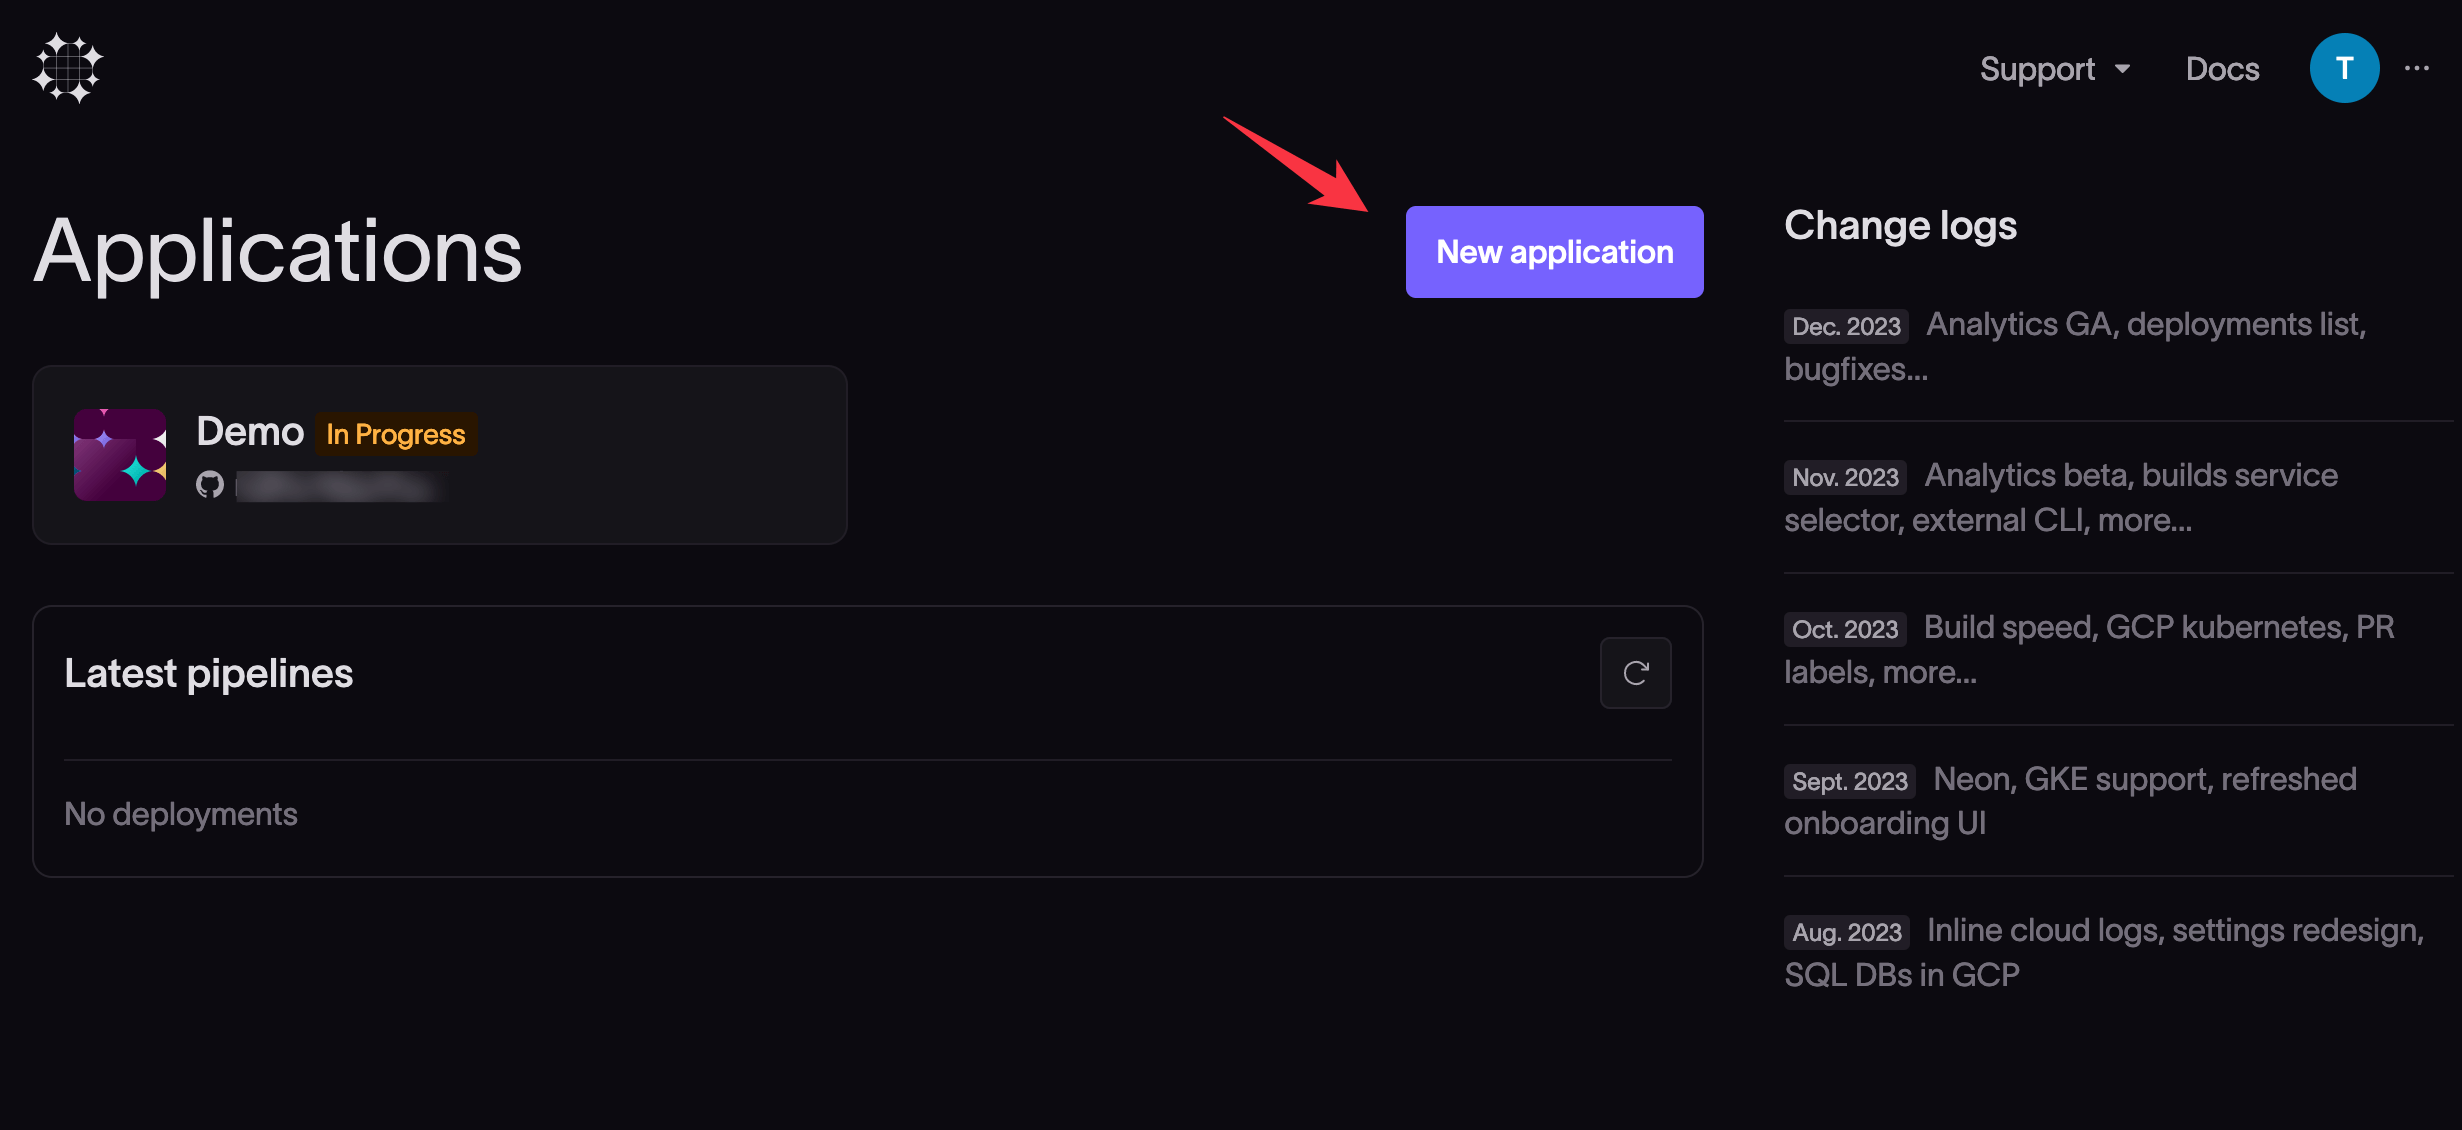
Log in to your Coherence account and select New application on the home screen.
Configure the new application in the new app dialog.
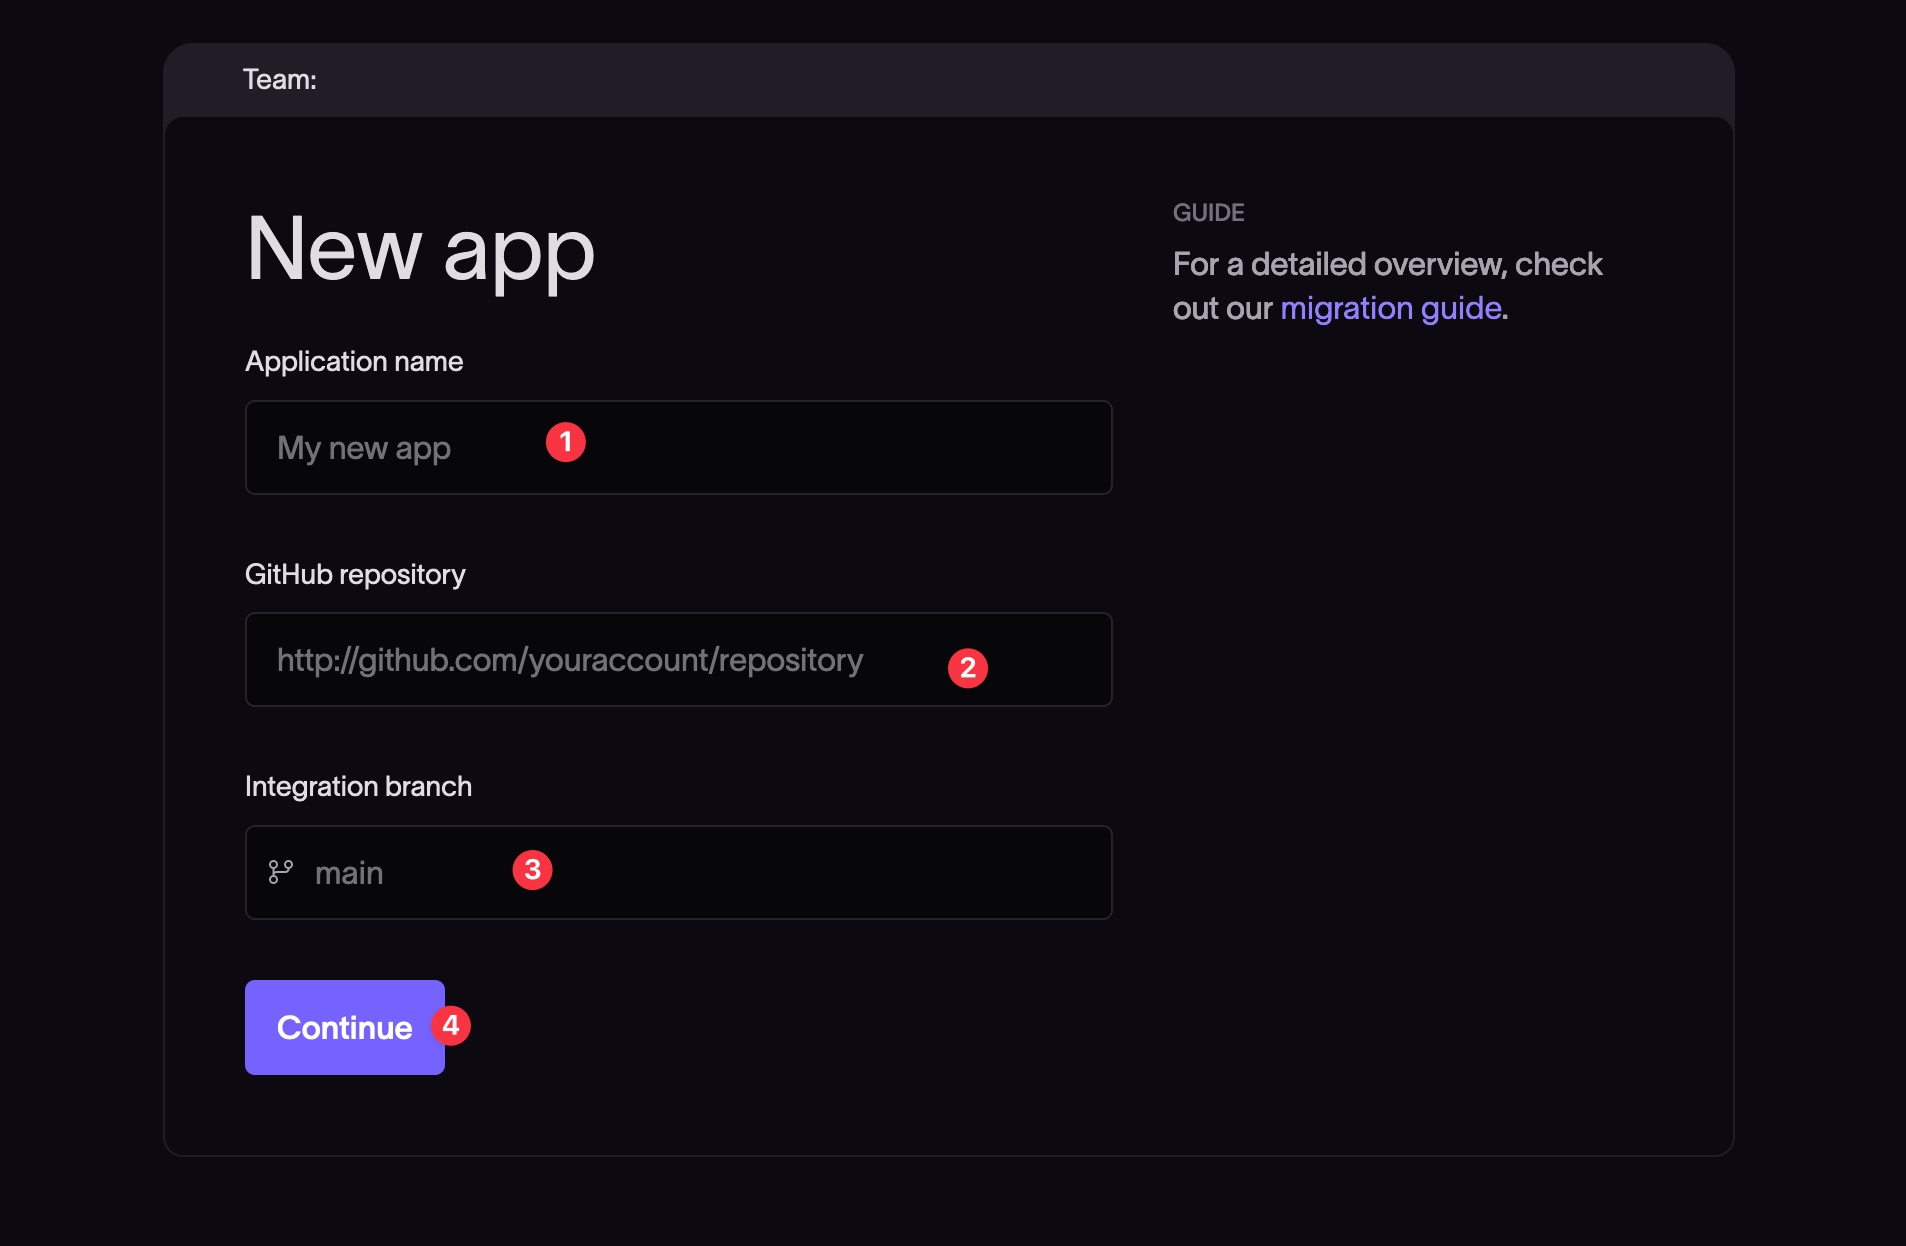
- Give the application a name.
- Provide the URL of the GitHub repository for the app. When entering the GitHub repository URL, omit the trailing
.git. - Provide the integration branch on the repository for Coherence to use. Any branch on the repository will do as an integration branch, but the branch you specify here must already exist, so create the branch first if you want to use a new one.
- Click Continue.
- The integration branch of your app repository is where you can initially add and build out a
coherence.ymlfile that defines the resources used in your project. - An integration branch environment will be automatically created in Coherence to track this branch. Note that this environment cannot be deleted unless you delete your Coherence application.
- If you do your migration on a temporary branch, you can change the integration branch when you’ve finished and want to merge to a permanent home.
Install the Coherence GitHub app
The Coherence GitHub app gives Coherence repository-level privileges to trigger builds and infrastructure configuration jobs based on code pushes to your repo. You can find the app here.
When you have entered the initial details of your application, the next screen gives you options to install the Coherence GitHub app and authorize the app to perform builds on GitHub.
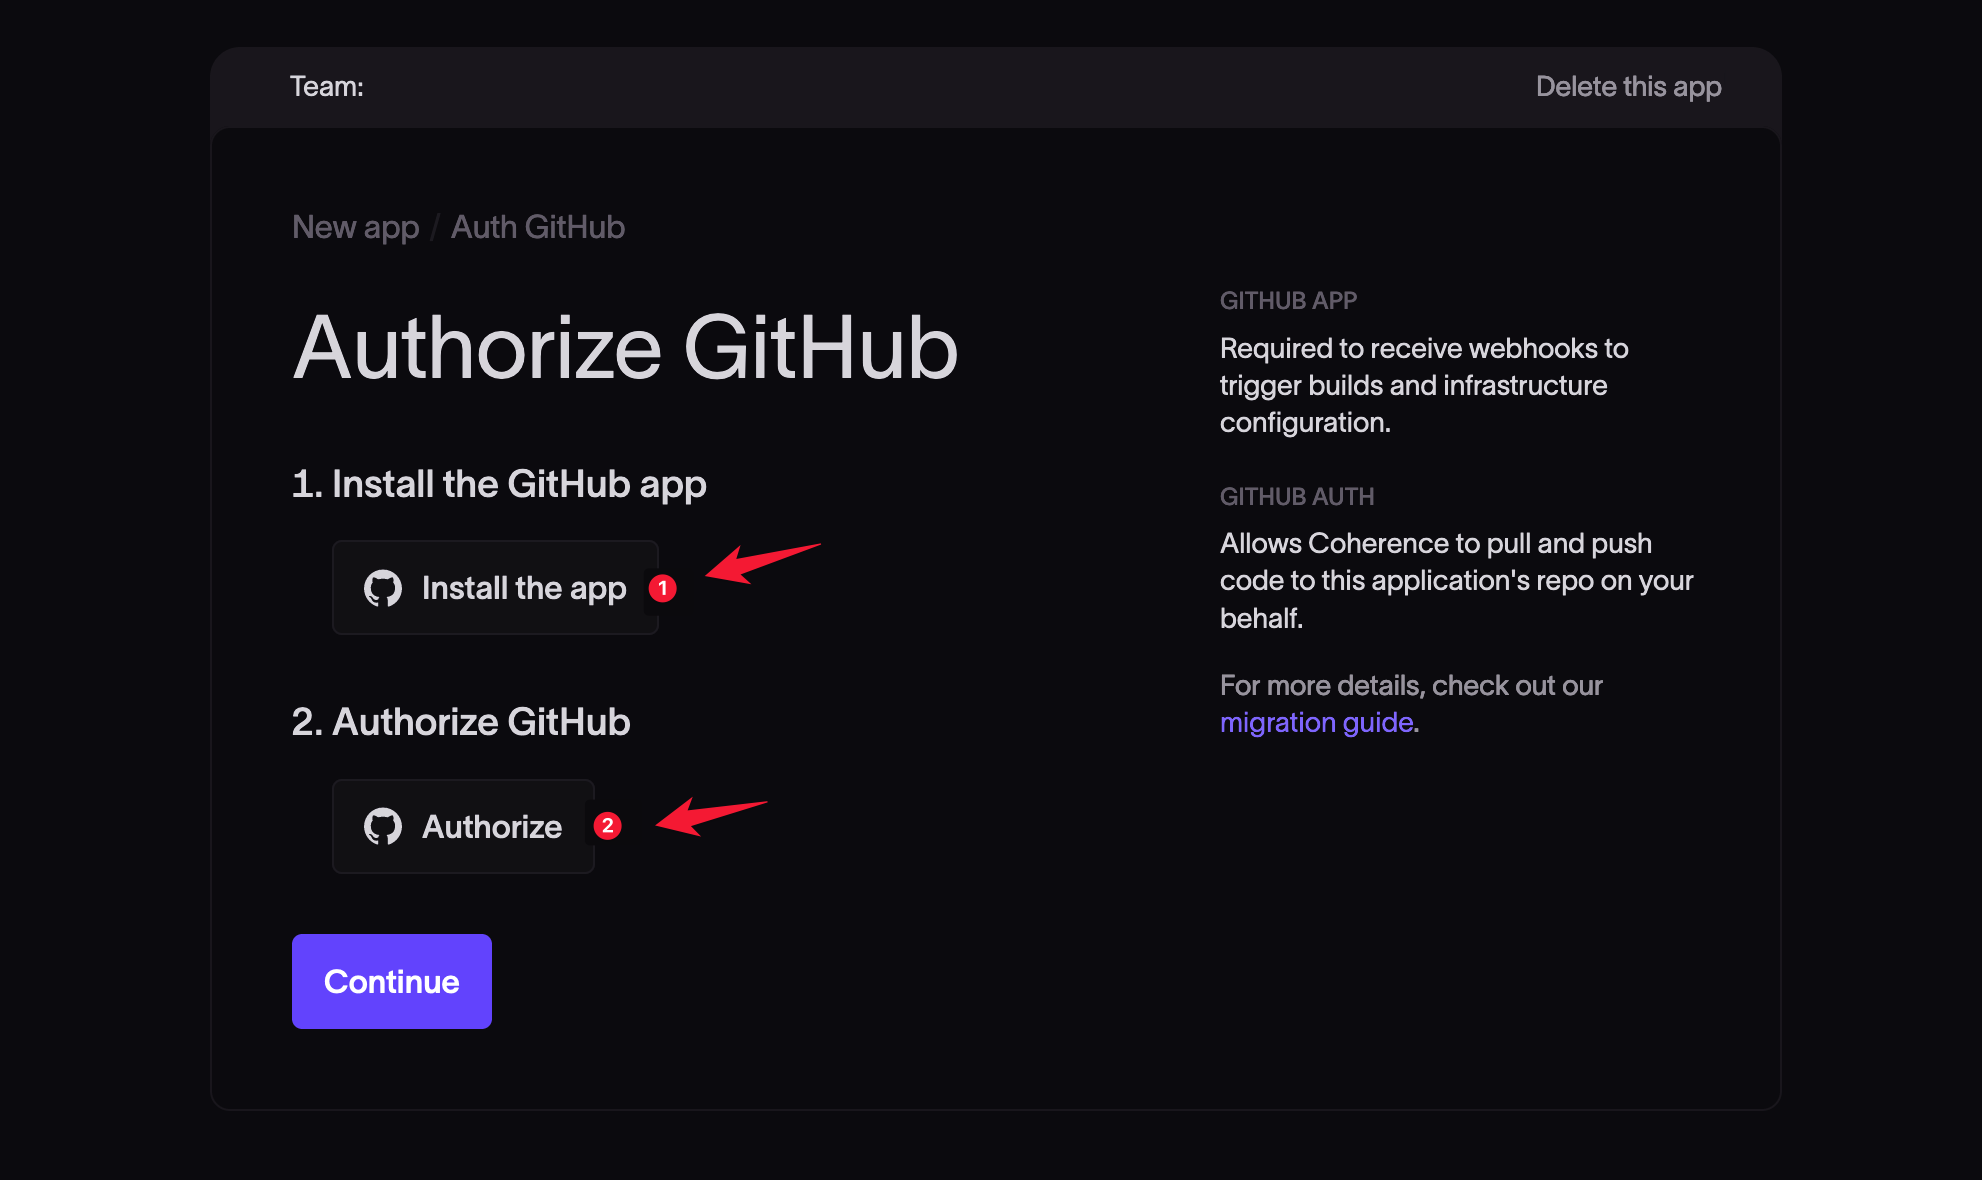
Click Install the app.
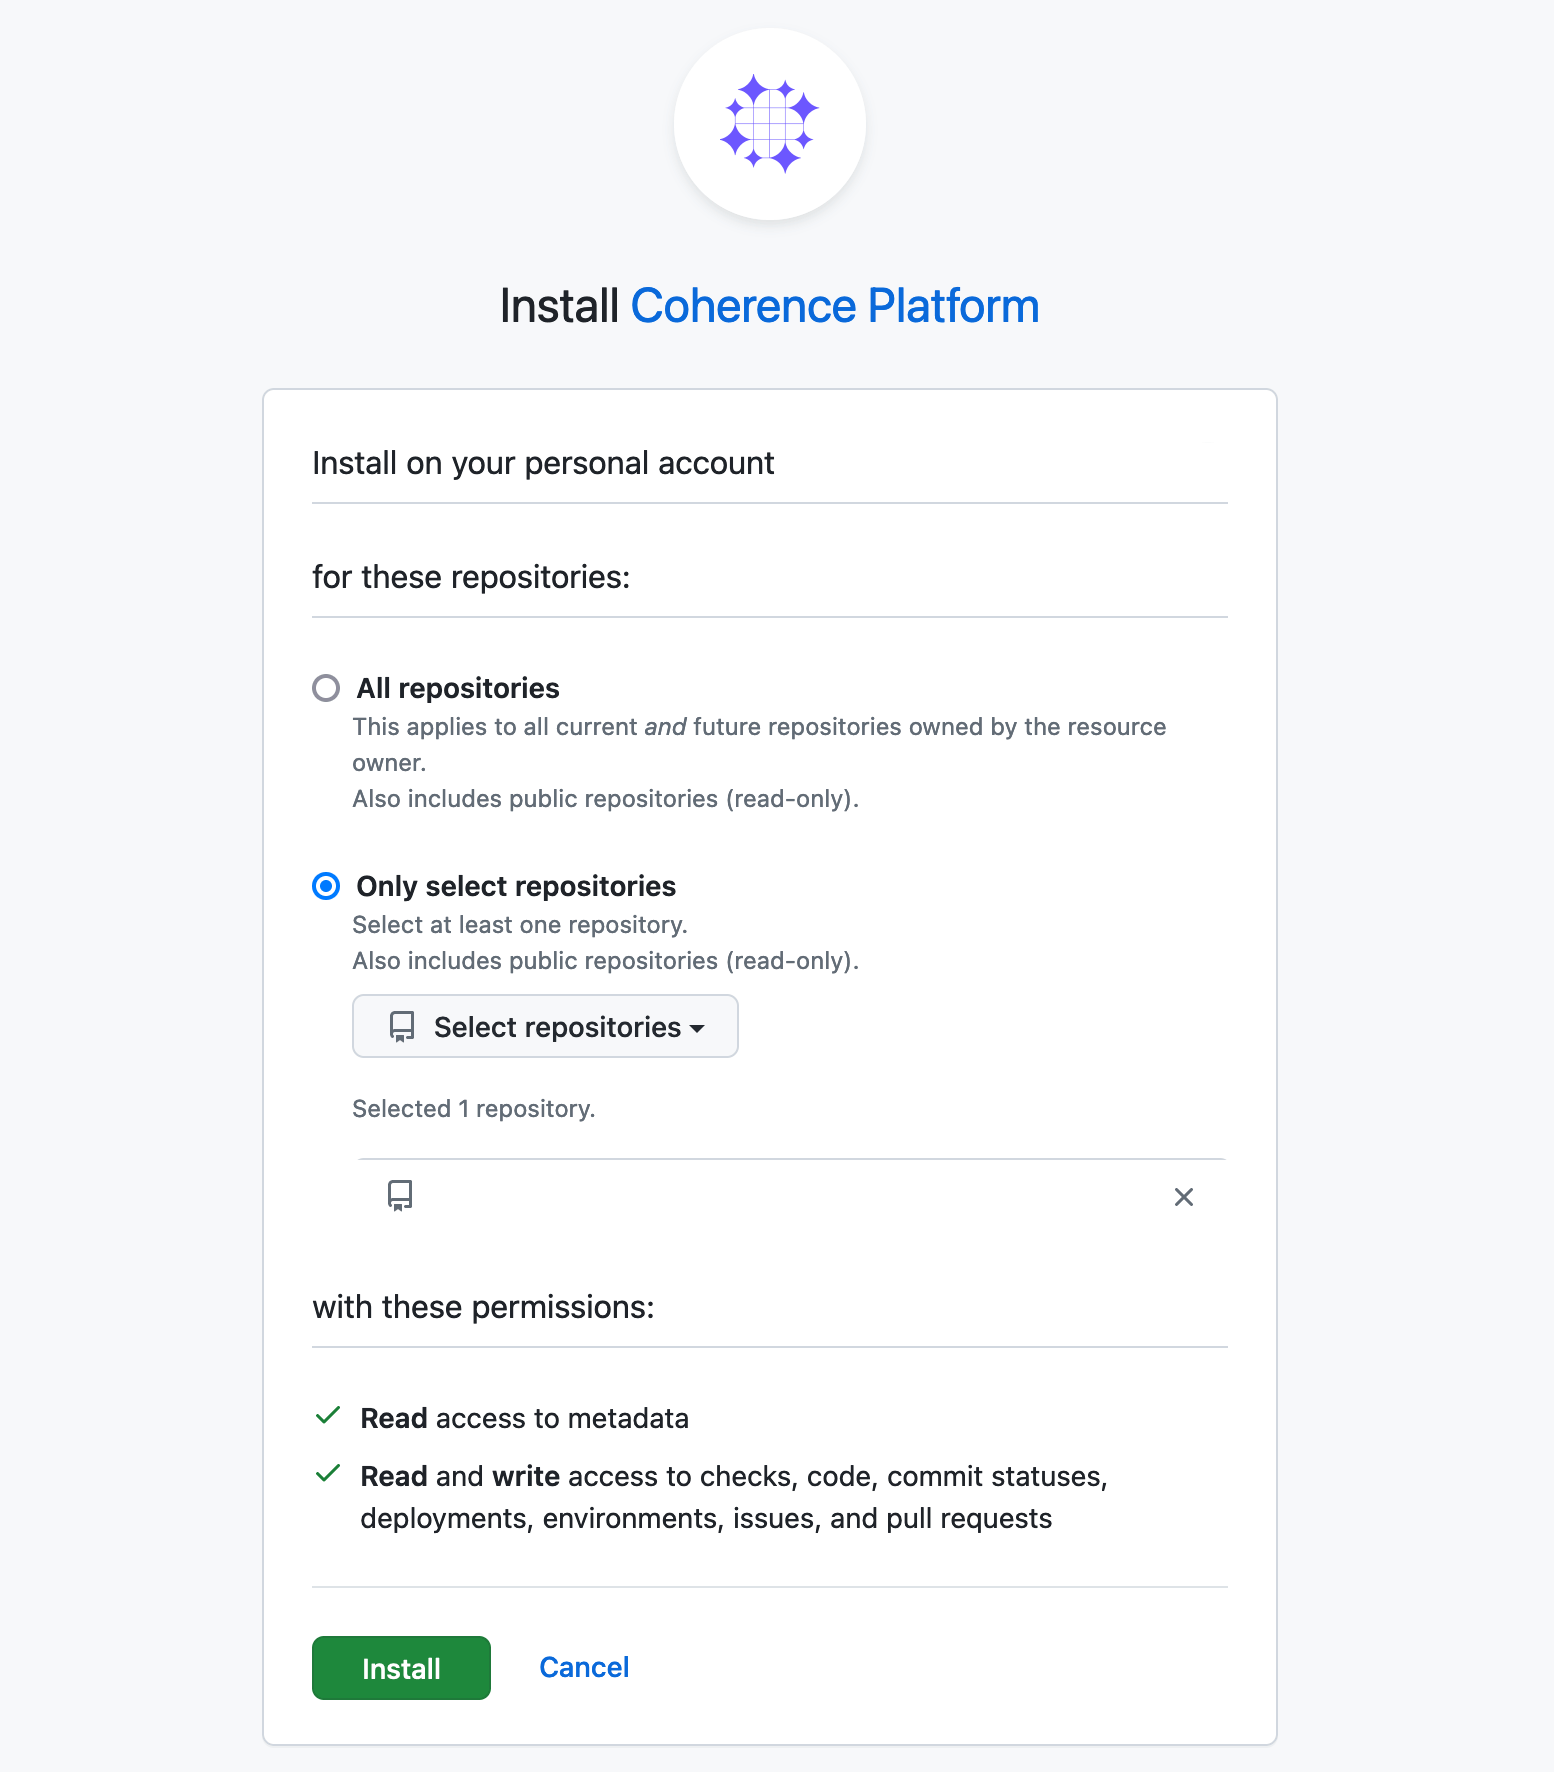
In the installation popup from GitHub, select whether to allow the installation for all repositories or only for selected repositories and click Install.
When you return to the Coherence platform, the Authorize GitHub dialog should show the Coherence GitHub app has been installed. You may need to refresh the browser for the changes to reflect. If the dialog does not show the app as installed, retry the installation steps.
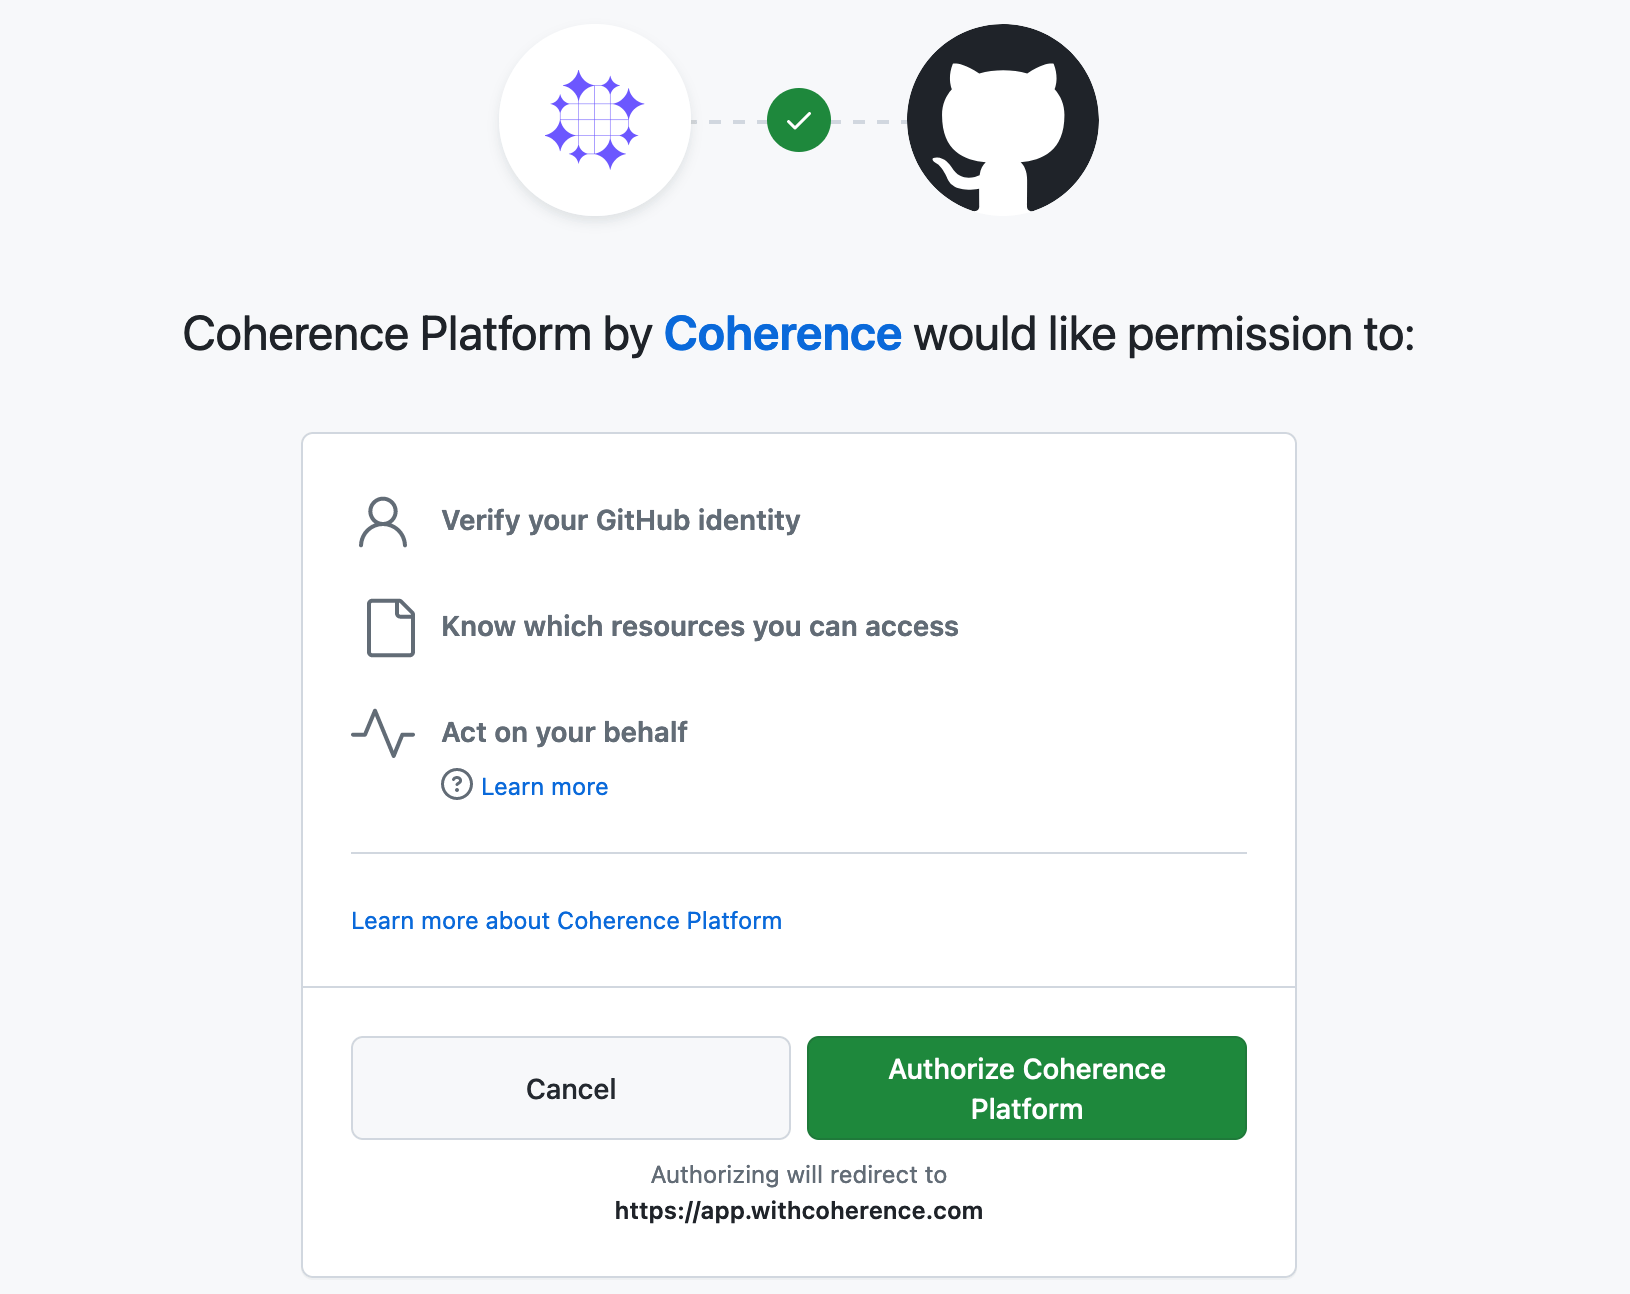
Next, click Authorize. When prompted, click Authorize Coherence platform. Note that if you don't authorize the Coherence platform, it won't have access to your source code in GitHub and won't work as expected.
The Authorize GitHub page on the Coherence platform should now show "Authorized" under "Authorize GitHub".
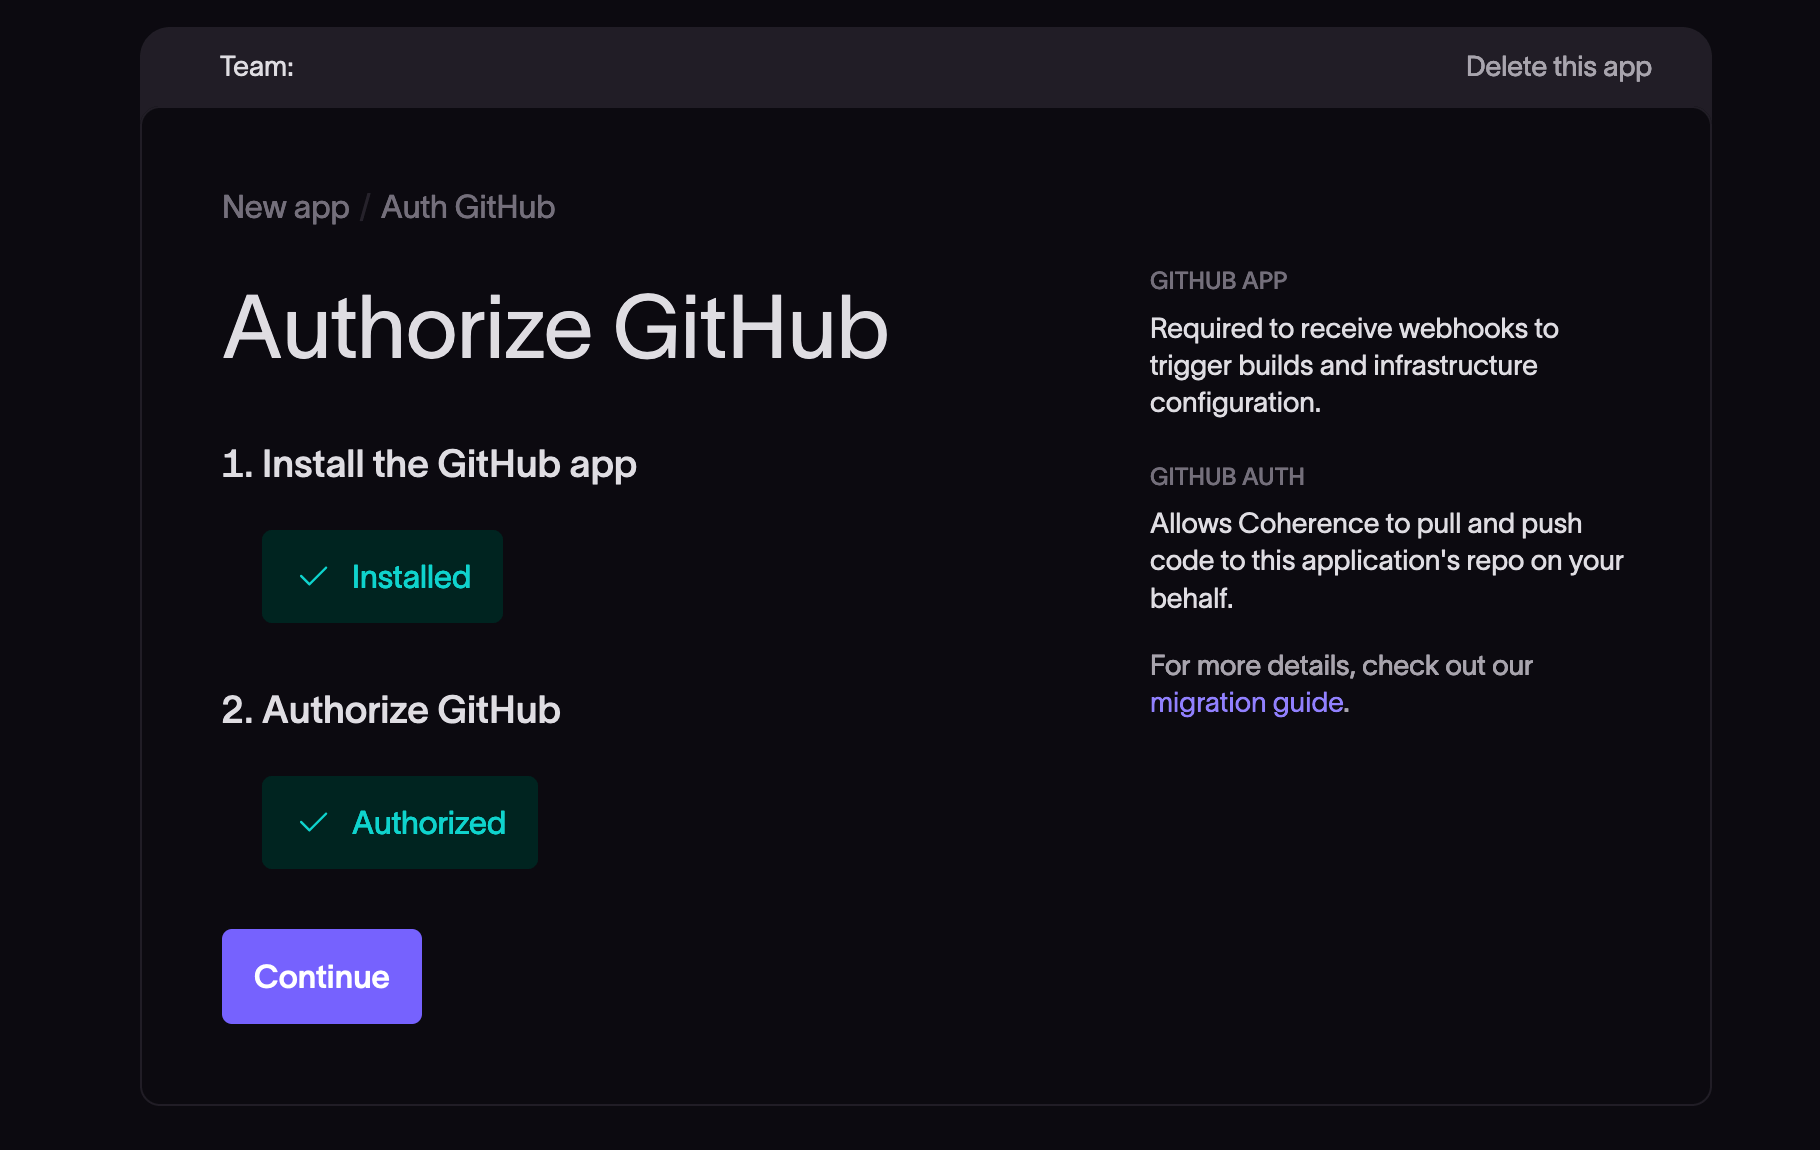
Click Continue.
Create the coherence.yml config file
If the repo that holds your application already has a coherence.yml file, it will be detected and you will have the option to continue.
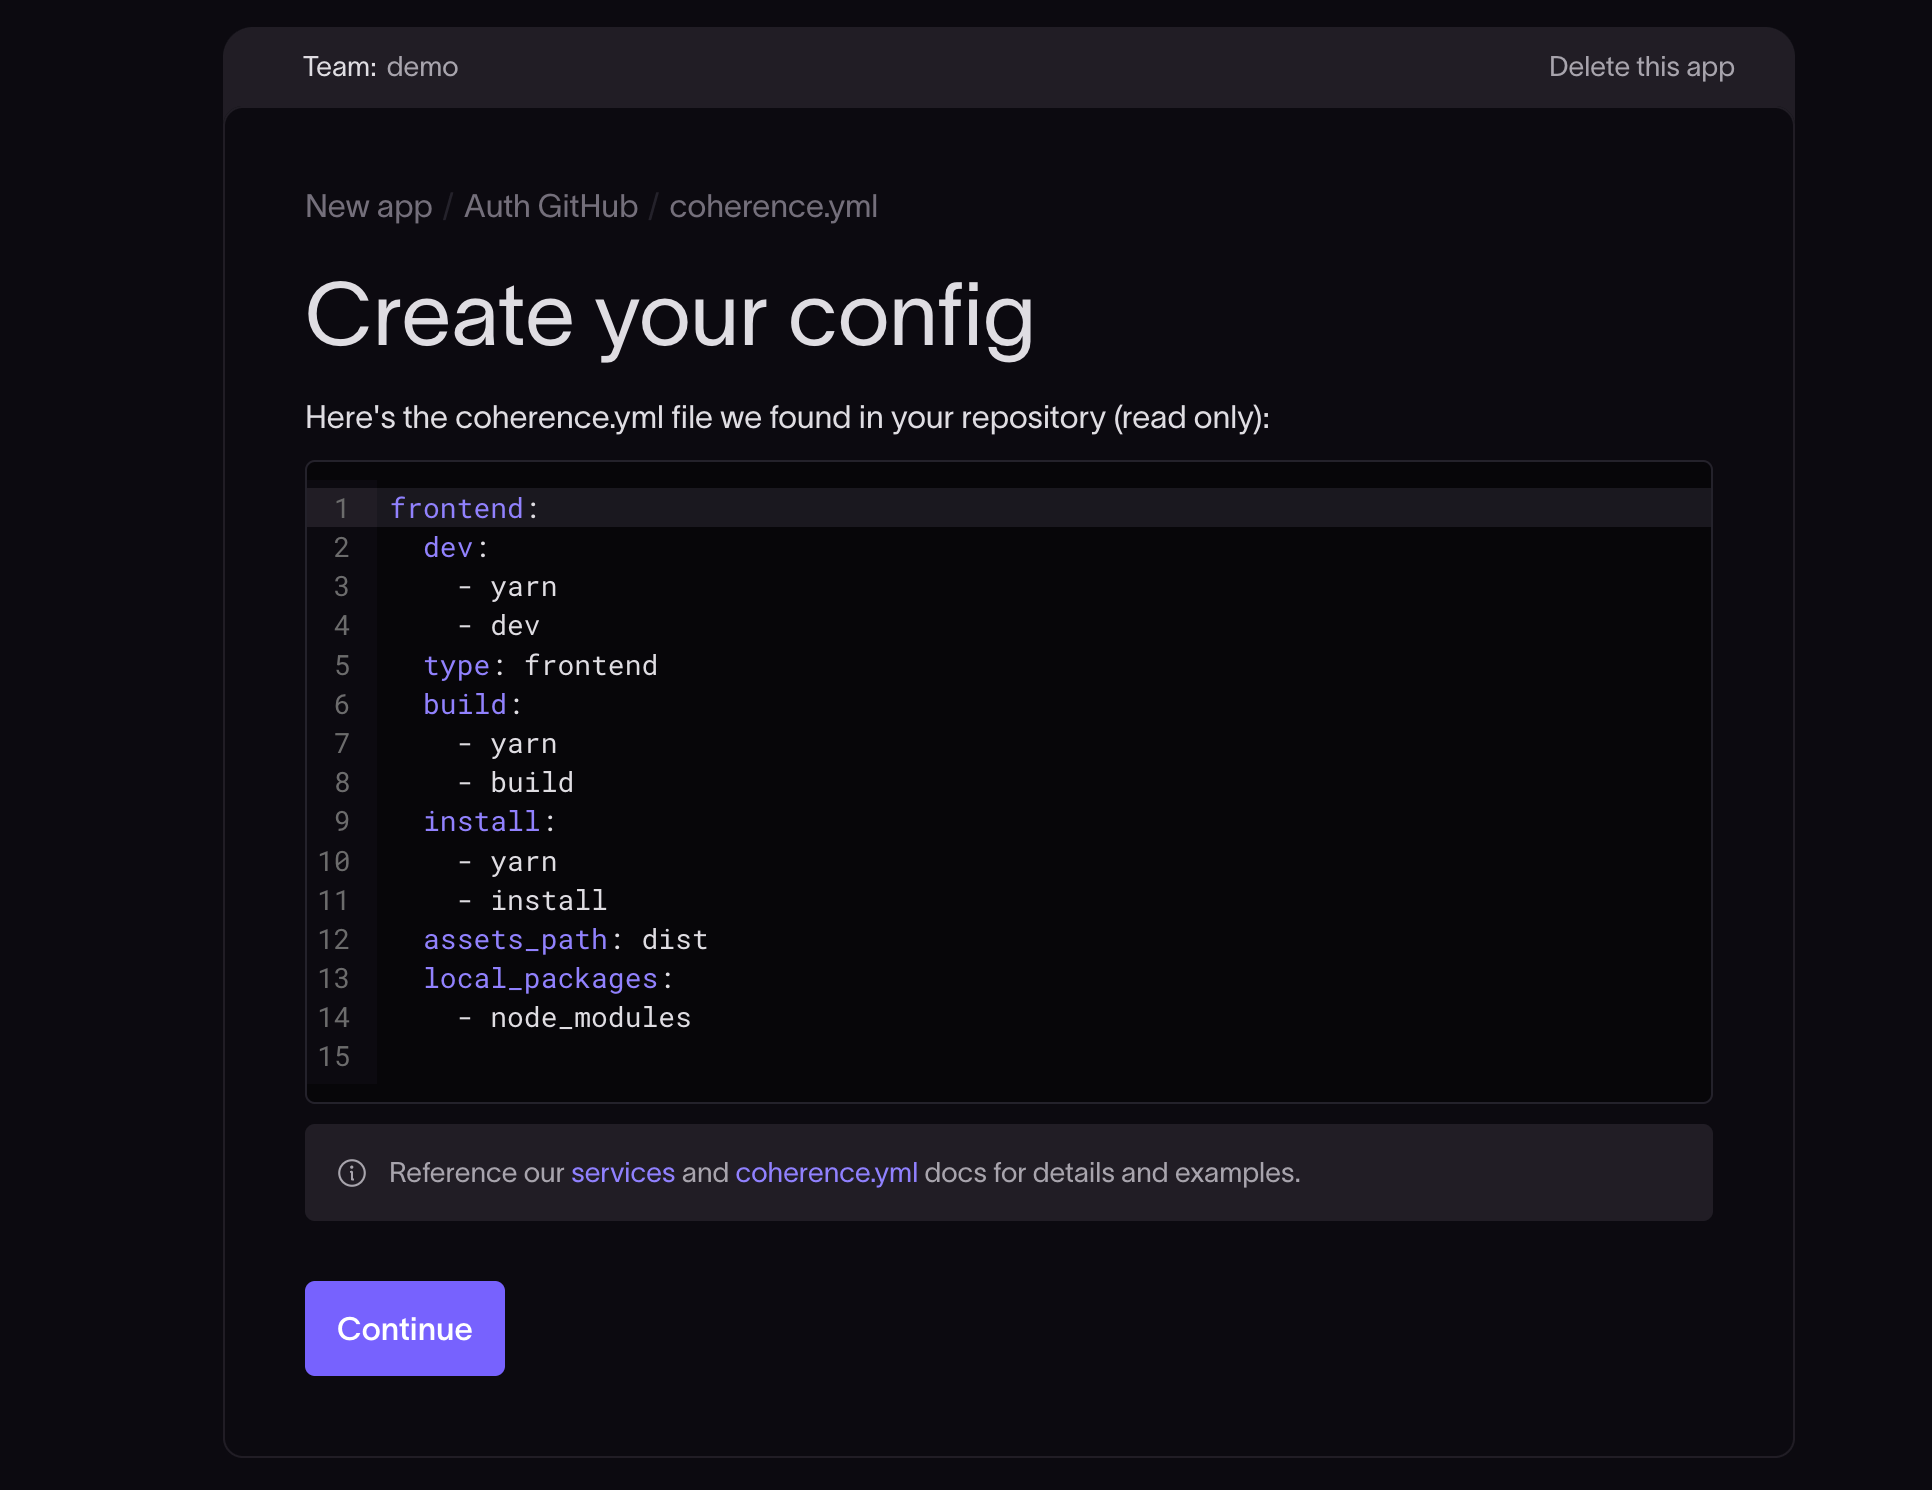
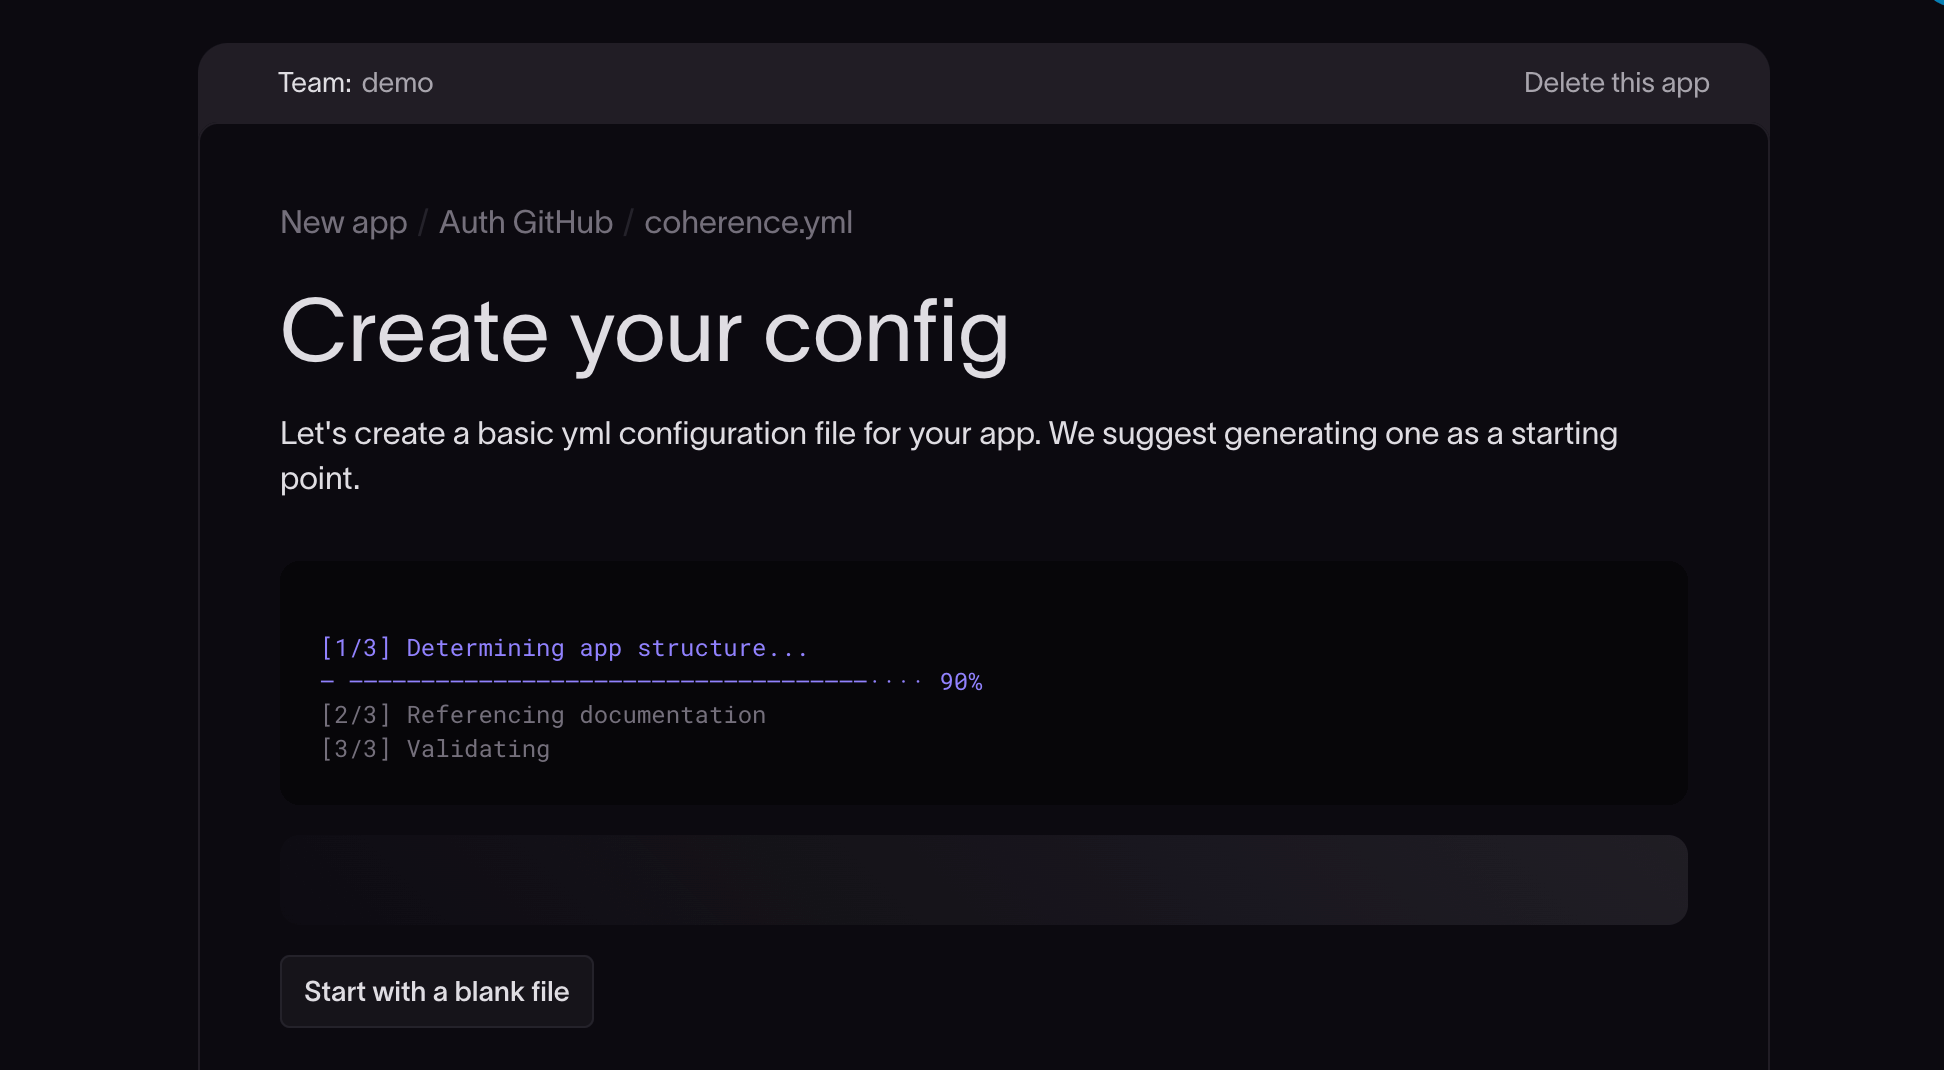
If the repo that holds your app does not already have a coherence.yml file defined, Coherence offers a Generate option to generate the configuration for you. You also have an option to start with a blank file.
- Choose the framework you want to use and click on the Generate button to create a sample for your test application.
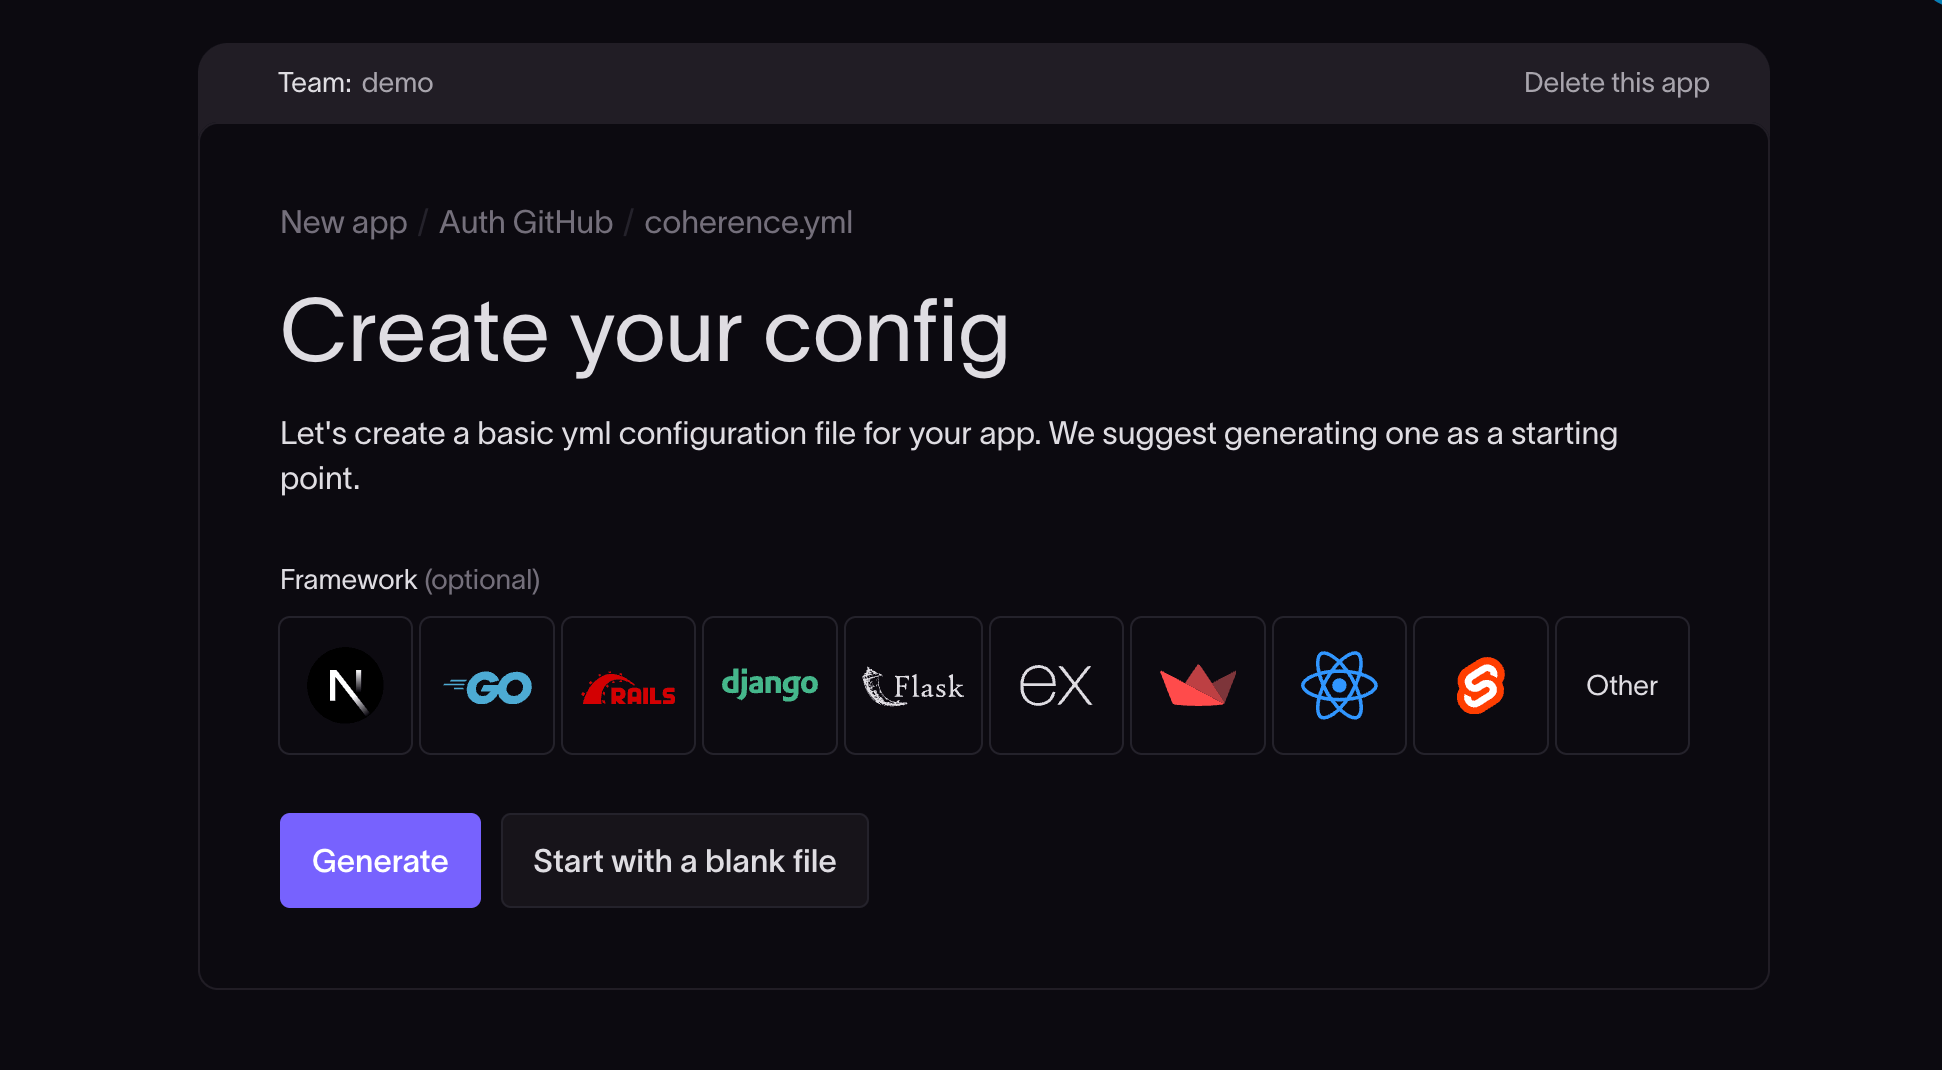
- Generation takes a couple of seconds while Coherence determines the app structure.
- When the initial config is generated, the configuration based on the detected app structure is displayed. The example configuration below is for a Django-React project.
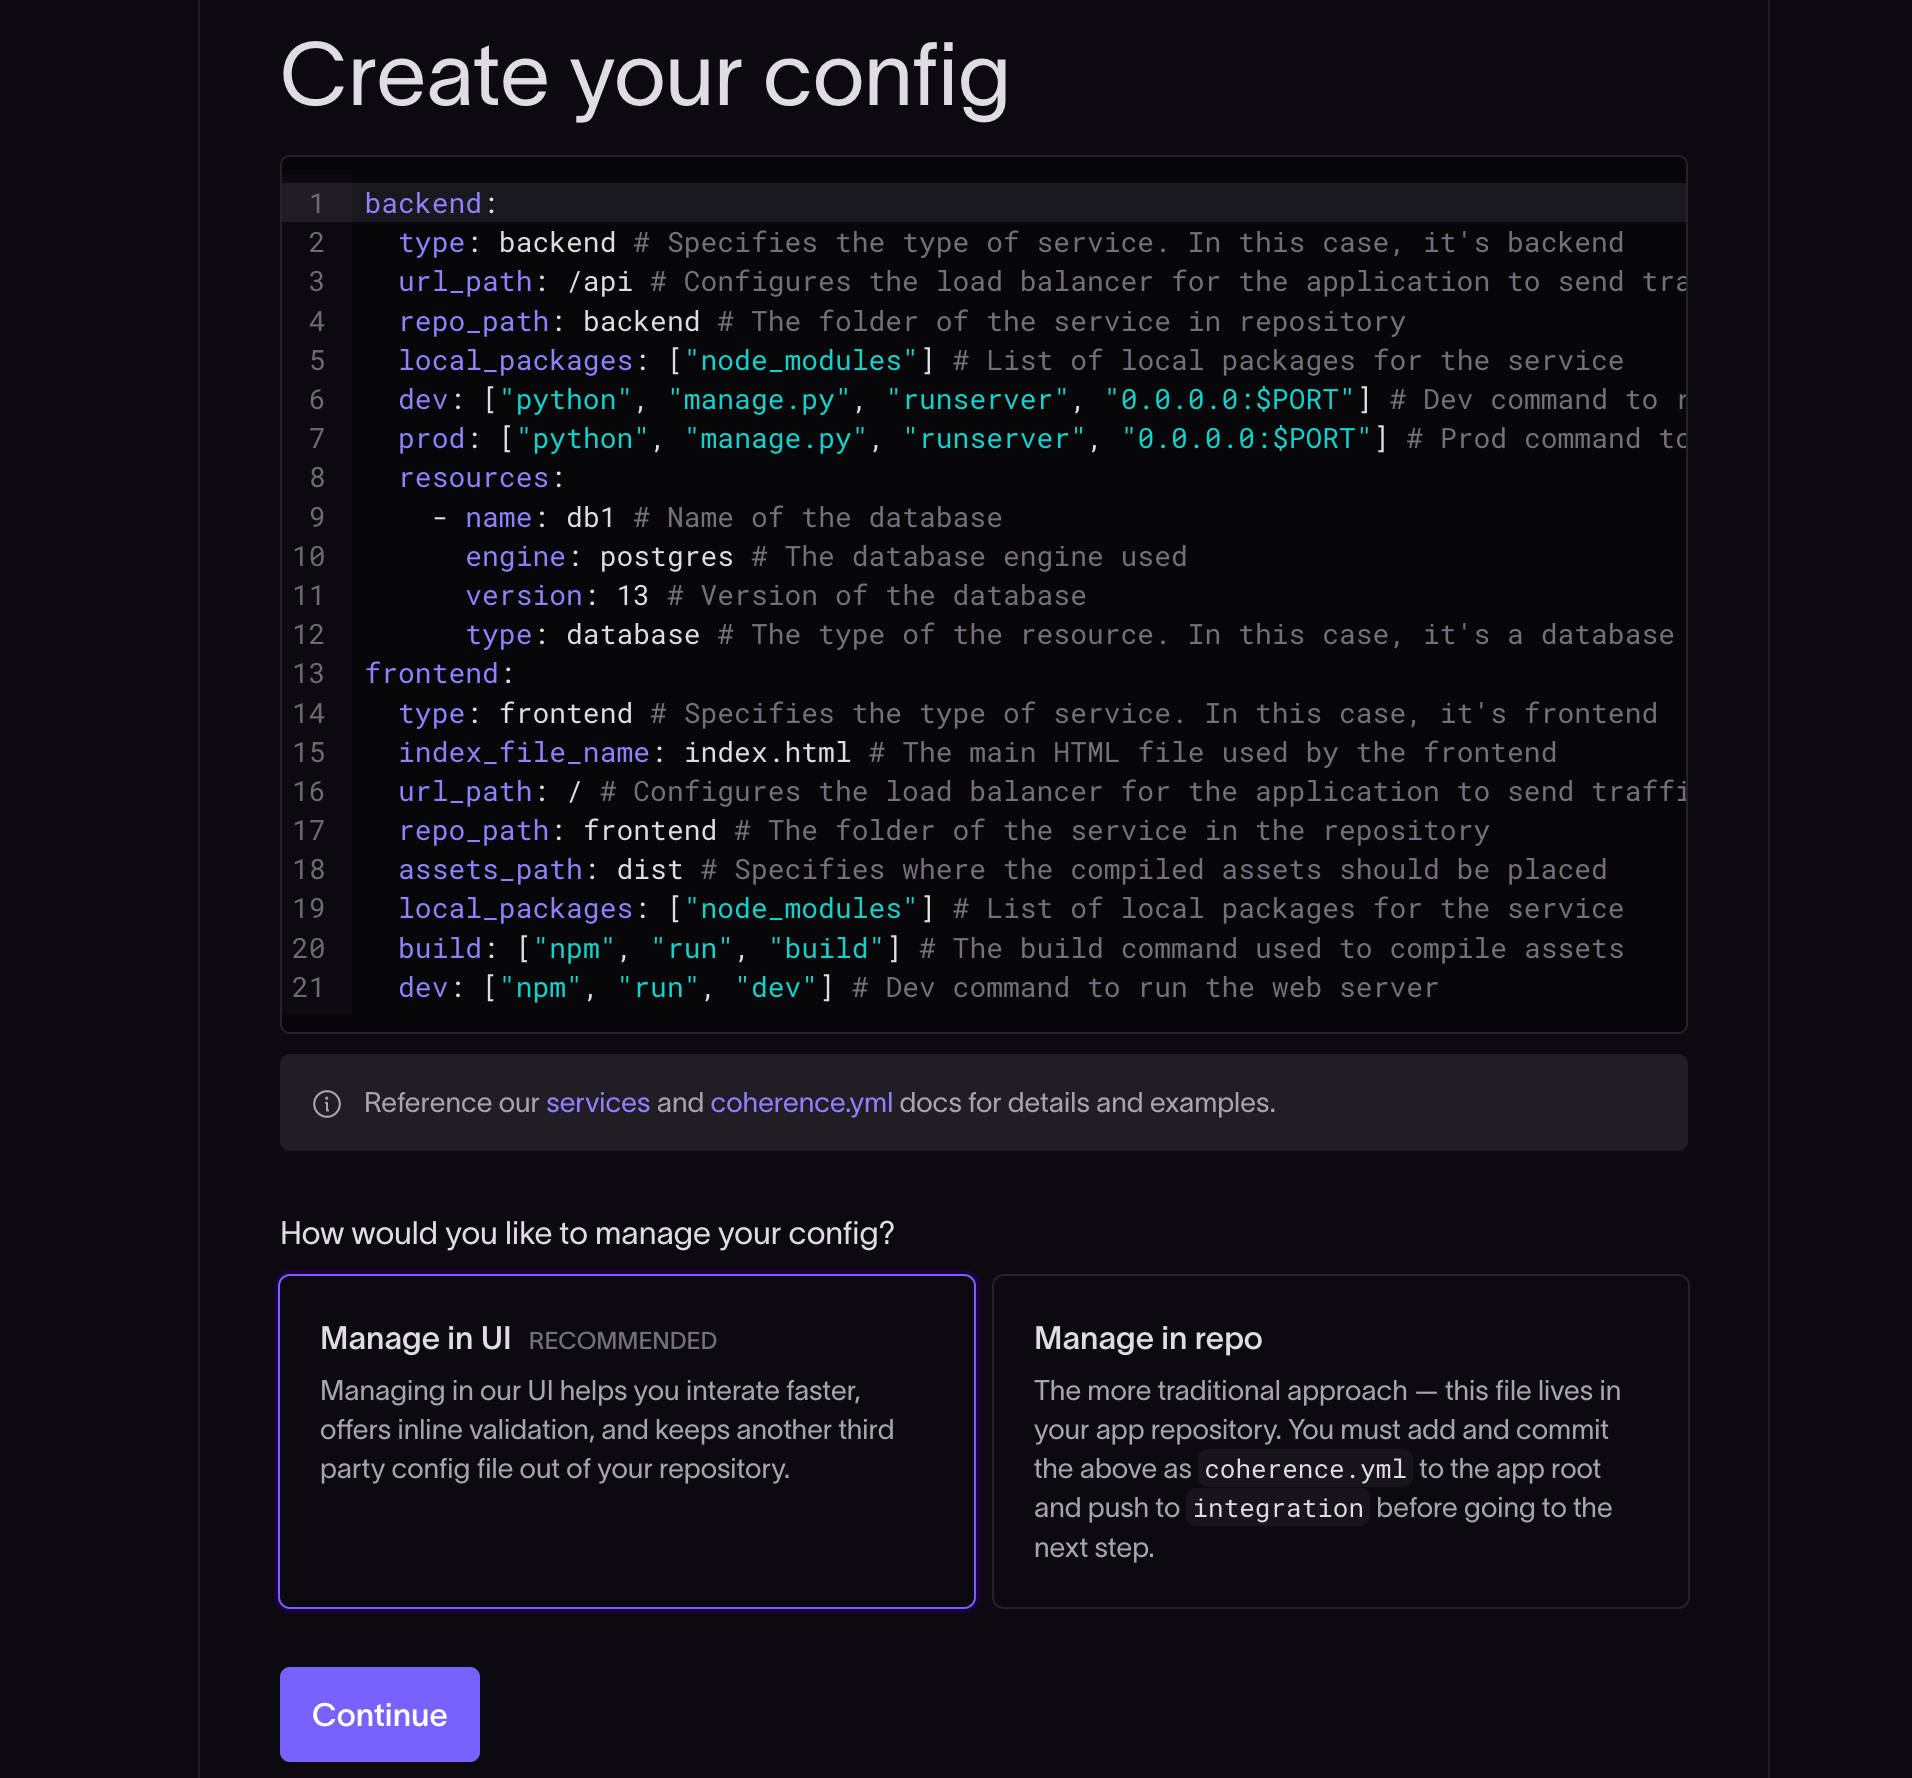
You can choose to manage this file in your Coherence dashboard using the "Manage in UI" option, which is generally faster and easier. Alternatively, you can add a coherence.yml file to the root of your repository in your integration branch and choose the "Manage in repo" option.
- Take a look at the
coherence.ymldocumentation for more details on the configuration file and examples. - Learn more about the services you can use in the
coherence.ymlfile in the services documentation.
Click Continue and you will be taken to the app Preview screen on the Coherence platform.
Finish setting up your Coherence application by connecting to your cloud provider: